
How to Configure Whatsminer for Bitcoin Mining
Follow these clear steps to properly configure your Whatsminer M60S and start mining Bitcoin efficiently.
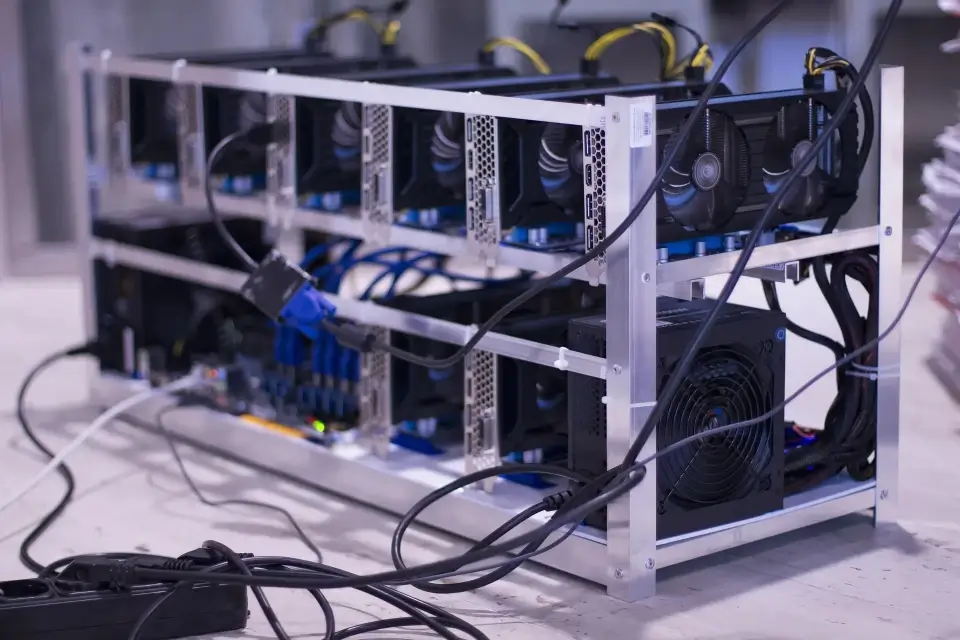
Step 1: Power On the Whatsminer
After powering on the miner, you’ll hear it start up and notice the Ethernet light flickering. This means the Whatsminer is ready for configuration.
Step 2: Find the IP Address
You’ll need the miner’s IP address to access its interface. Use either of the following:
- Advanced IP Scanner, Download and scan to find the miner’s IP.
- Router Interface, Log in to your router and check connected devices.
Step 3: Access the Miner Interface
- Open a browser and enter the IP address.
- Log in using the default credentials:
Username: admin
Password: admin
Tip: Change your password in System > Administration for added security.
Step 4: Configure the Mining Pool
Before mining, connect your Whatsminer to a pool:
- Get a Bitcoin Wallet: Prefer hardware wallets like:
- Tangem
- Ellipal Titan 2.0
- Trezor
Or install Bitcoin Core on a dedicated laptop.
- Choose a Pool: Use platforms like Mining Pool Stats to compare pools. Avoid pools controlling over 50% of network hash rate.
- Example Pool Setup (ViaBTC):
- Register at ViaBTC and get pool info.
- In the Whatsminer settings:
- Paste the pool address in Pool1.
- Set Worker Name as
youraccount.workername(e.g.,mym60s.01) - Add a backup pool as Pool2.
- Click Save and Apply, then Reboot the miner.
Step 5: Start Mining
After setup, the Whatsminer M60S will begin mining. Monitor real-time stats and performance via its dashboard.
Step 6: Monitor Profitability
Whatsminer M60S profitability depends on:
- Hash Rate
- Bitcoin Price
- Electricity Costs
- Market Trends
To improve profits, choose efficient mining settings and follow Bitcoin price trends regularly.